Ground Preparation: Understanding Site Clearing Requirements
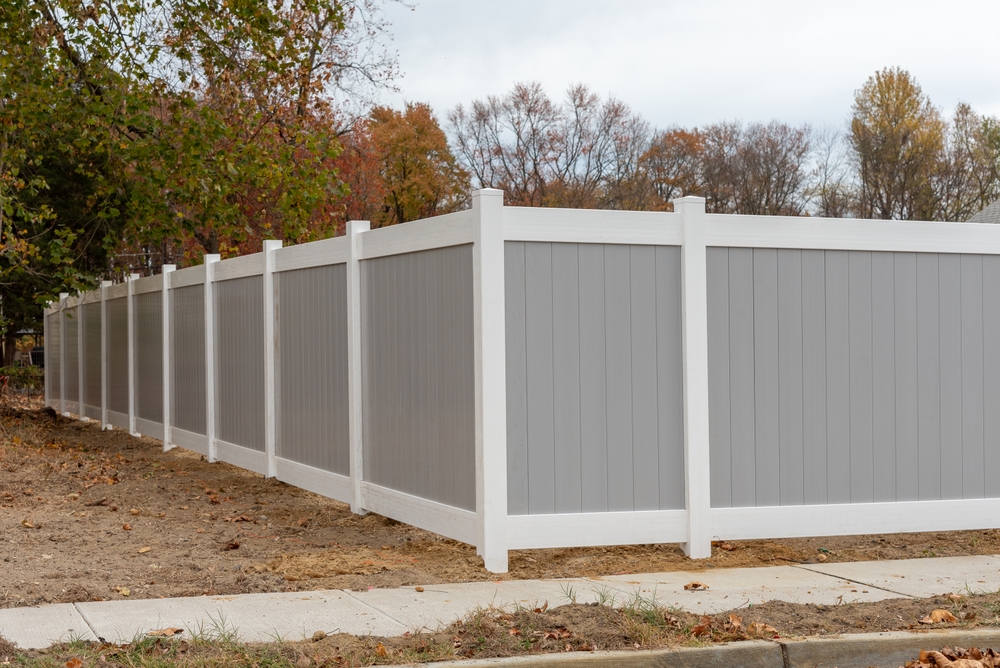
Getting a new boundary around your property requires careful planning and labor. Homeowners often wonder, do fence installers grade before

Getting a new boundary around your property requires careful planning and labor. Homeowners often wonder, do fence installers grade before
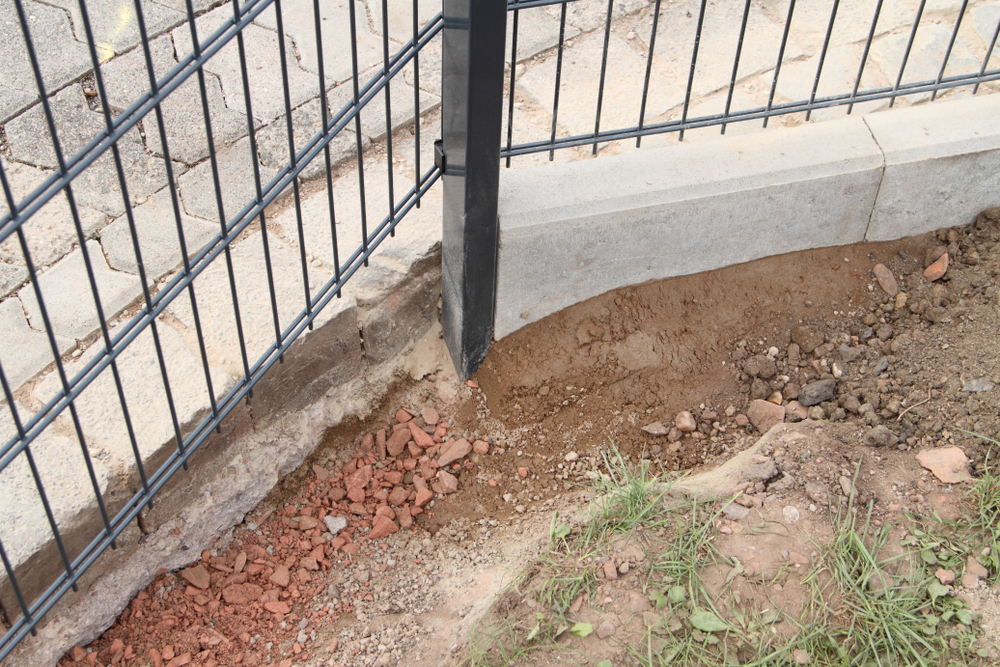
Executing a successful fence installation in wet soil often brings unexpected challenges, especially if your yard holds excess moisture. You

A new fence transforms the look and function of your property almost immediately. It provides privacy for your family, security
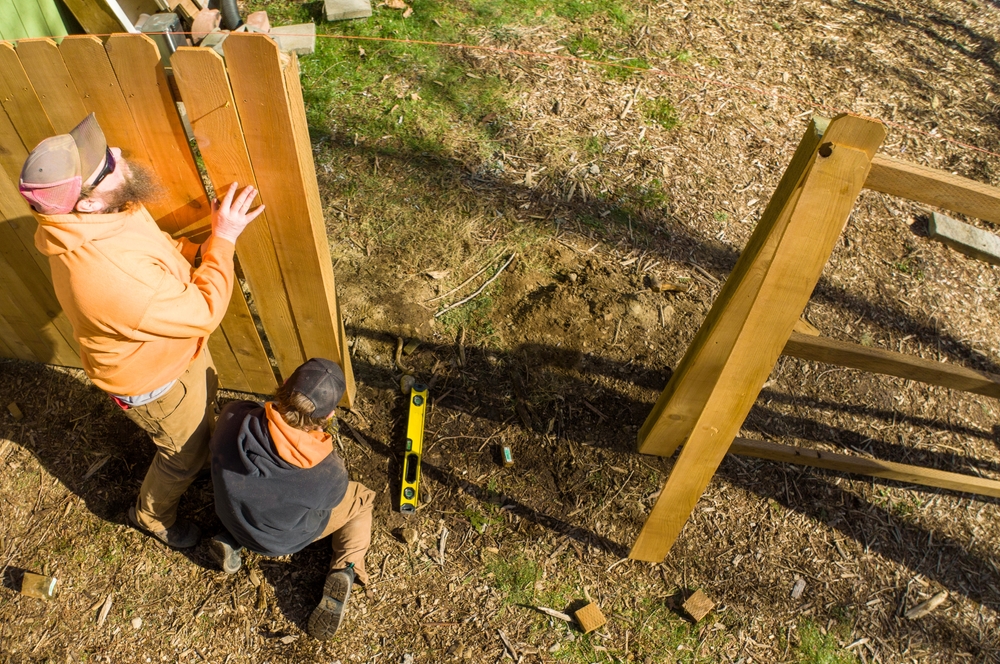
Most homeowners assume that construction projects must strictly follow the calendar and cease when temperatures drop. However, the belief that
You are standing in your yard with a post hole digger, wondering if you are about to make a costly
You’ve been staring at that patch of grass between the sidewalk and the street. You’re wondering, “can a fence be
You look at your yard and see the potential. But then you see the hills, the slopes, and the dips.
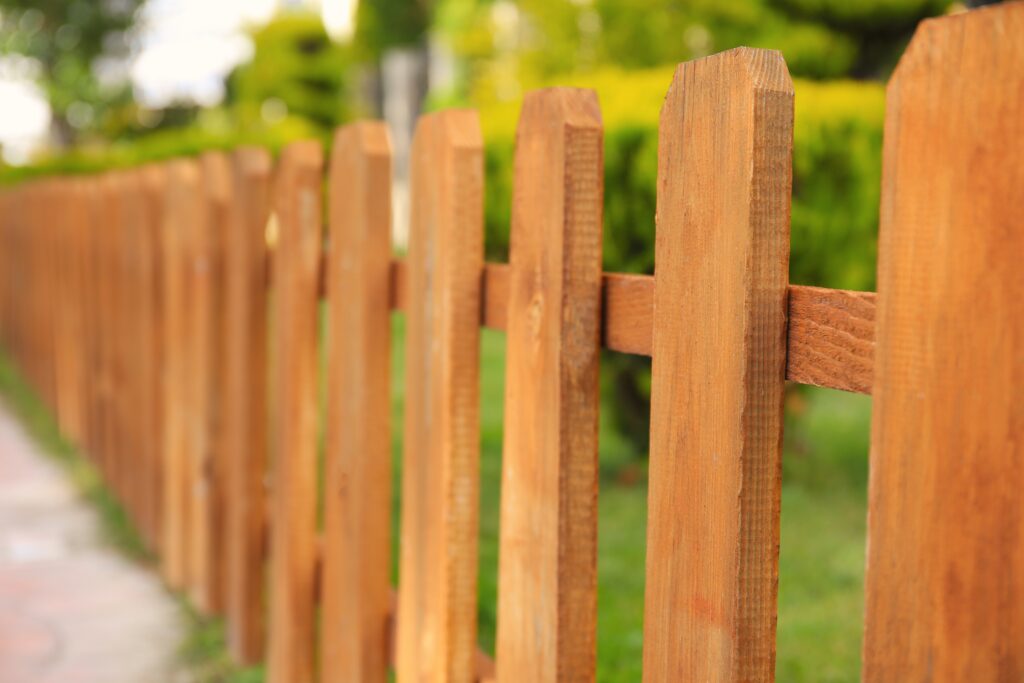
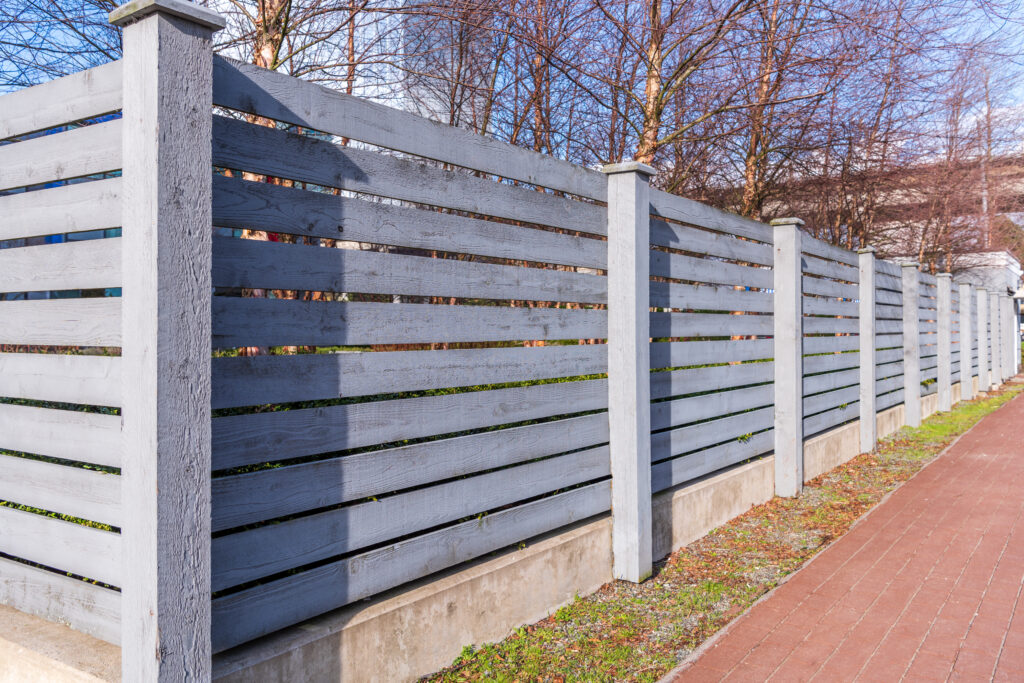
You love the look of your wood fence, which brings a classic charm to your outdoor living space. That natural
That sinking feeling in your stomach is real. You’ve walked outside and noticed it—a long, spiderweb crack working its way
That sinking feeling in your stomach is all too real. You walk outside and see a crack in your beautiful
A wooden fence post that starts to lean makes your entire property look neglected. This common structural failure is often

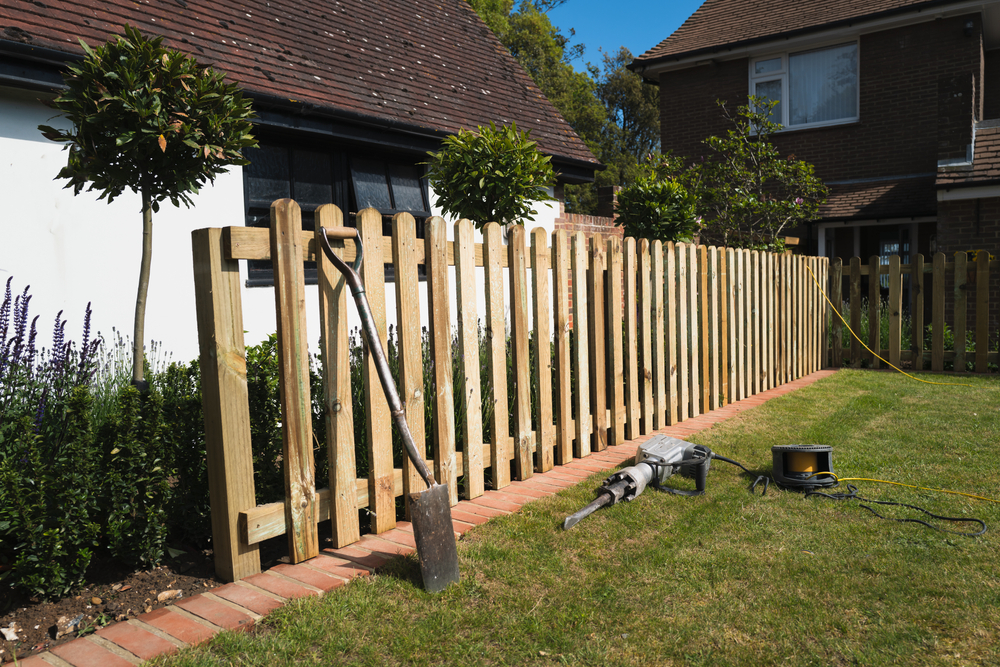
Fixing up your front yard fence can be a great project, and you might be wondering, “can I repair a