
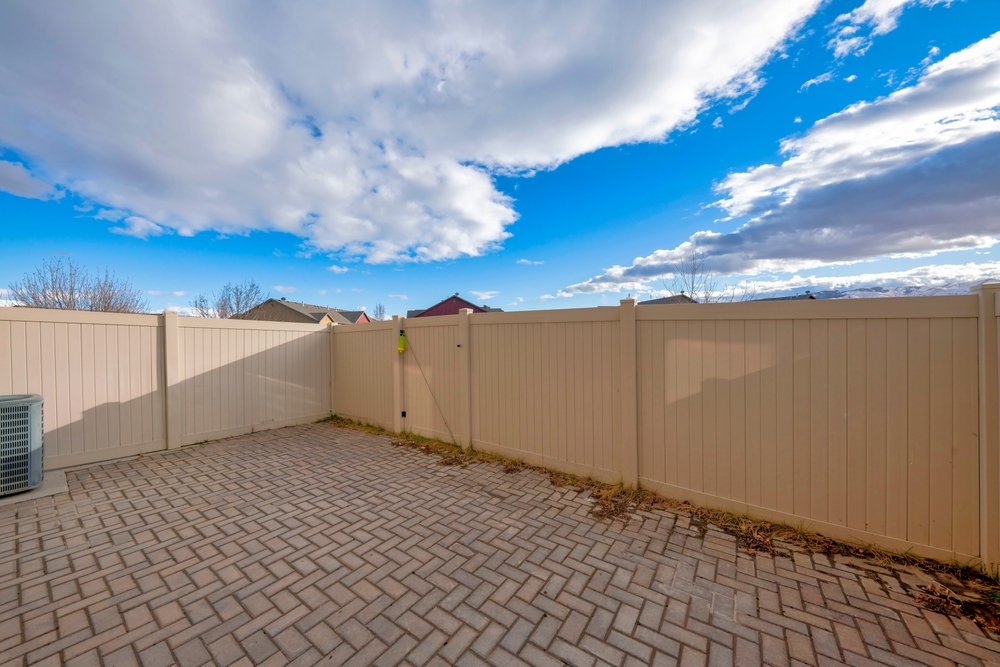
Many homeowners want to upgrade their yards by putting a new fence over an existing patio or driveway. However, putting a vinyl fence on concrete takes specific, highly technical steps to keep it strong and prevent wind damage. To get a tough result that lasts for decades, professional methods for anchoring and reinforcement are required. At Richboro Fence, we know that checking your concrete surface beforehand prevents shifting, cracking, and structural failure down the road. Modern vinyl fences offer a great setup for those looking for a balance between privacy and low-maintenance yards, provided the foundation is handled correctly.
The process of setting vinyl fence posts on a hard surface is a lot different from traditional digging in the dirt. While a standard vinyl fence is known for being low maintenance, its stability relies entirely on how the fence post is locked into the hard surface. Property owners must choose between using surface-mounted brackets or drilling all the way through the slab to make sure the fence stays upright during heavy storms. Proper planning guarantees that your privacy fence provides the security and seclusion you desire without the risk of falling over.
Assessing Slab Thickness and Condition
Before buying materials, the thickness and condition of your concrete surface must be checked to confirm it can handle the weight. A standard residential sidewalk usually measures only four inches thick, which cannot support the wind load of a solid vinyl fence. Structural pros recommend anchoring into a footing that goes below the frost line to prevent shifting caused by freezing winter ground. If the concrete is too thin, a fence post may eventually crack the surrounding slab under stress. When installing vinyl fences, the concrete must be verified as strong and solid enough to handle heavy commercial anchors. If you are looking to set up a quality vinyl fence in Warrington, understanding these surface variables is the very first step.
An older, damaged patio introduces extra challenges. If a slab has big cracks or is crumbling, surface-mounted brackets will eventually pull loose during heavy storms. Crews must core through the slab and dig a proper post hole into the dirt beneath it to get maximum stability. This method allows the vinyl fence posts to be anchored deep in the ground, giving them the strength to fight against heavy winds. It is also critical to scan for underground utilities before starting any drilling project. Skipping this step can lead to dangerous and expensive damage to gas lines or electrical lines buried beneath your driveway.
Concrete Installation Methods Compared
| Installation Method | Best Used For | Stability Rating | Footprint & Aesthetics |
| Surface-Mounted Brackets | Thick, flawless concrete slabs (strong and smooth) | Moderate (Vulnerable to high-wind areas) | Clean; sits completely on top of the concrete surface. |
| Core Drilling & Digging | Thinner slabs, older patios, or high-wind zones | Maximum (Anchored deeply into sub-soil) | Seamless; the vinyl post emerges directly out of the concrete. |
Essential Equipment for Concrete Layouts
Gathering the right equipment makes a vinyl fence installation significantly easier and produces a stronger final product. Professional crews utilize heavy-duty hammer drills or diamond-tipped core drills to break through the existing slab for each fence post. Once through the hard layer, specialized digging tools are needed to reach the correct depth for post holes. Using the right machinery makes certain that the vinyl fence posts are perfectly vertical and aligned with your property line. Without a core drill, there is a high risk of shattering the edges of the concrete, which ruins the look and strength of the installation. For a durable setup of vinyl fencing in New Britain, having this specialized gear on site prevents permanent damage to your existing driveway.
Pro Tips for Preparation and Layout
- Commercial crews mark a highly accurate perimeter using stakes and a tight string line to prevent a wavy or crooked final fence.
- Exact locations for all corner posts, end posts, and gate gaps must be identified and marked before starting any drills.
- Subsurface utility, gas, or plumbing lines must be fully mapped out to avoid hitting dangerous pipes under the surface.
- Post height adjustments and structural spacing must account for natural slopes or dips in the concrete pad.
Post Attachment and Concrete Curing
To attach fence sections securely, high-quality concrete mix or specialized fast-setting cement is used to get things steady quickly. After drilling the holes, a gravel base is placed at the bottom to let water drain and prevent puddles from forming around the fence posts. This drainage layer is essential for preventing the vinyl fence post from moving during winter freeze-and-thaw cycles. Once the vinyl post is in place, pouring the concrete requires a precise level to verify it stays perfectly straight as the material begins to harden. For surface mounts, heavy metal wedge anchors expand inside the concrete to provide a permanent, tight grip.
Allowing for a proper concrete cure time is essential before trying to attach the fence panels. Experienced builders recommend waiting at least 24 to 48 hours before putting any stress or weight on the fence posts. If this step is rushed, the vinyl fence may lean, requiring expensive fixes or a complete re-do. Patience during the post-setting phase makes sure that the foundation is rock-solid and ready for the final assembly of the privacy fence. During the curing process, the posts must remain completely undisturbed.
Finalizing the Vinyl Fence Panels and Gates
Once the fence posts are securely anchored, the fence panels can be slid into the pre-made holes. Each panel should slide into the vinyl fence post with a snug fit, providing a clean and seamless appearance. If you are putting up fence sections on a hill, the panels must be “stepped” to keep the top line level. This technique makes sure the vinyl fence looks professional and follows the natural shape of your yard. Remember that vinyl fences expand and shrink with temperature changes, so a small gap must be left within the post holes for seasonal movement.
Special attention must be paid to the gate post, as it takes the most beating from daily opening and closing. A gate post should be reinforced with an internal aluminum or steel stiffener to prevent sagging over time. When setting vinyl fence posts for a gate, making sure they are perfectly parallel allows the latches and hinges to work smoothly. Properly installed gate posts are the hallmark of a high-quality vinyl fencing project and make certain long-term usability. Filling the gate posts with concrete and a rebar metal rod provides the extra weight needed to support a heavy swinging gate.
With the right tools and a commitment to setting posts correctly, your vinyl fence will be a standout feature of your yard. Whether you are setting vinyl for a small patio or a large driveway, the steps for a proper installation stay the same. Investing in high-quality vinyl fences today protects your yard design for the future, and partnering with Richboro Fence makes certain the entire process goes smoothly from the first drill to the final post cap.
Schedule Your Professional Installation
Ready to secure your property without the stress of managing heavy core drills, heavy concrete mixing, and tedious leveling alignments? Let the experienced team at Richboro Fence take care of the hard work for you. We bring specialized machinery, commercial-grade anchoring systems, and deep building experience to set up a beautiful, storm-resistant fence on any concrete pad or patio. To get started with a precise estimate on your upcoming project, contact us today.