
That sigh of relief you felt when your privacy fence first went up was huge, wasn’t it? Suddenly, your backyard became your own private space, a safe area for children and pets, and a peaceful place to relax. But after several seasons of weather exposure in the Philadelphia area, your fence may start showing wear. Sun, rain, and wind can weaken wood over time, causing leaning posts, cracked boards, or discoloration near the ground. When that happens, learning how to repair a privacy fence helps you restore both appearance and strength.
A small repair today prevents a larger problem tomorrow. Most homeowners can handle fence repairs on their own, but there are times when calling a professional like Richboro Fence is the best choice. The following guide explains how to inspect, repair, and protect your privacy fence so it lasts for years.
Why Privacy Fence Repair Matters
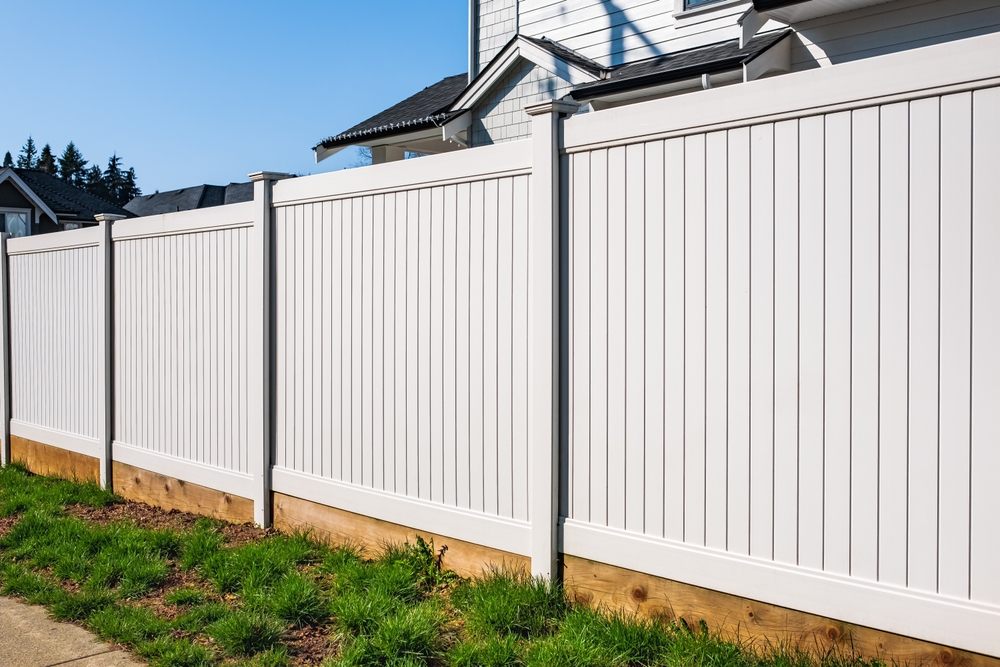
A privacy fence defines your outdoor space, adds style, and provides safety. Over time, soil movement, moisture, and UV exposure can cause damage to wooden posts and boards. Fixing small issues when they appear helps maintain your fence’s structure and keeps your yard secure. Learning basic fence repair techniques saves money, extends the life of your fence, and prevents complete replacement later.
Fence companies in Philadelphia offer a wide selection of materials, styles, and expert installation services to help homeowners and businesses improve security, define boundaries, and enhance curb appeal.
Step 1: Inspect the Fence for Damage
Before you buy materials, take time to inspect the entire fence line carefully. Push gently on each post to check stability. Look closely at the boards for cracks, warping, or soft spots that indicate rot. Pay special attention to areas near the ground, where moisture collects and decay often starts. Here are common issues to look for:
- Wood rot: Soft, dark, or crumbling sections near the base.
- Warped or split boards: Cracked or twisted pickets that no longer fit flush.
- Leaning post: A post tilting or separating from the soil.
- Loose rails: Sagging sections where horizontal beams have detached.
- Insect damage: Tiny holes or sawdust-like residue on the wood.
Writing down what you find helps you plan materials and time. If you notice extensive rot or structural damage, replacing a full section may be more efficient than fixing individual pieces.
Step 2: Gather Tools and Materials
Every repair job starts with preparation. Having theEvery repair job starts with preparation. Having the right tools makes fence repair safer, faster, and more effective. Most projects in Willow Grove require:
- Tools: Hammer and pry bar, power drill, measuring tape, shovel, and a circular saw.
- Materials: Replacement boards, pressure-treated posts, fast-setting concrete mix, exterior grade screws, and gravel for base drainage.
If possible, use the same type of wood as your existing fence for a natural match. Take a small piece of your old fence to the supply store to compare texture and tone.
Step 3: Replace Broken or Warped Boards
A broken or warped picket is one of the simplest repairs. Remove the damaged board carefully with a pry bar, avoiding damage to the rails behind it. Measure an intact picket to match the size of your replacement piece. Use a saw to cut the new board to the correct length.
Position the replacement board, level it, and secure it with exterior wood screws. Screws provide stronger, longer-lasting support than nails. Once attached, apply protective sealant or stain. This helps the new board blend with the older sections and prevents new moisture damage. Regularly sealing your fence keeps it looking consistent and strong.
Step 4: Fix a Leaning Fence Post
A leaning fence post can weaken your entire structure. The cause is usually soil erosion or a damaged concrete footing. Check whether the post itself is still strong or if it has rotted near the base. If the post is damaged, it should be replaced completely.
To replace it, first remove any attached fence panels or rails. Dig out the old post along with its concrete base. The new hole should be about one third of the post’s height. Add several inches of gravel at the bottom for drainage, then set the new post. Make sure it is straight and upright using a level. Pour in fast-setting concrete and let it cure for 24 to 48 hours before reattaching panels.
If the existing post is not rotten, you may stabilize it instead. Dig around the base, level out the ground, and pack in new gravel. Pour fresh concrete around the post to secure it. This reinforcement restores stability without replacing the entire post.
Step 5: Reattach Loose Fence Rails
Rail connections loosen over time as wood expands and contracts with changing temperatures. When rails separate from posts, the fence can sag or lose alignment. Use a power drill to drive in long exterior screws that grip both the rail and post. If screws alone are not enough, attach metal brackets or mending plates for added support. For a cleaner appearance, install brackets on the inside of the fence where they are less visible. Rail reinforcement prevents future sagging and extends the life of your fence panels.
Step 6: Repair and Adjust the Gate
Fence gates require extra care because they experience frequent movement. If your gate starts to sag, first tighten all hinge screws. Replace stripped screws with longer or thicker ones for better grip. A gate that drags or will not close properly may need a diagonal anti-sag brace.
To install a brace, run a cable diagonally from the lower hinge corner to the upper latch corner, then tighten the turnbuckle until the gate straightens. For older gates made of heavy wood, new hardware or re-framing may be necessary. Keeping the gate aligned and supported helps prevent stress on the rest of the fence.
Step 7: Maintain and Protect Your Fence
Once your fence is repaired, maintenance will keep it strong. Apply a water-repellent stain or sealant to block moisture and reduce cracking. Clean dirt, debris, and leaves from the base regularly to stop mold and insect problems. Trim grass and vegetation that rest directly against the wood so air can circulate and keep it dry.
After storms or heavy rainfall, inspect for new shifts or loose screws. Regular checks make it easier to catch small issues before they spread. Simple maintenance saves significant time and cost in the long run.
When to Repair and When to Replace
Sometimes a fence reaches a point where individual repairs are no longer practical. If more than one third of your fence shows rot or leaning, replacement may be the most cost-effective choice. Wood fences typically last around 15 to 20 years, depending on climate and maintenance. Knowing when to repair and when to replace helps you balance your time and budget.
For homeowners without experience or with limited time, hiring a professional fence contractor can be a smart investment. Professionals have specialized tools and high-quality materials that can restore your fence more efficiently. Fence installation in Willow Grove offers a variety of materials and design options, giving property owners durable solutions for security, privacy, and enhancing the overall appearance of their landscape.
Key Takeaways
Repairing a privacy fence might feel challenging at first, but breaking it into smaller steps makes the process manageable. Inspect the damage, replace weakened parts, reinforce loose connections, and seal your wood against the elements. With these methods, your fence can stay strong, attractive, and reliable for many years.
Learning how to repair your own fence builds confidence and saves money. It also helps prevent emergency replacements and keeps your outdoor space safe and welcoming. Whether your fence needs a few new boards or significant reconstruction, patience and proper technique will bring back both strength and style to your property boundary. Get a free quote today!